This article is converted by 简悦 SimpRead, original at dangzitou.github.io
Preface
Preface
Recently, I wanted to experience a Linux development environment on Windows 11, but the interaction between virtual machines and the host is too limited. Besides, a graphical interface is not very necessary for developers, so I chose to install WSL (Windows Subsystem for Linux) and installed Ubuntu 24.04. This article records the detailed steps and the pitfalls encountered, hoping to help friends who come later.
- Press
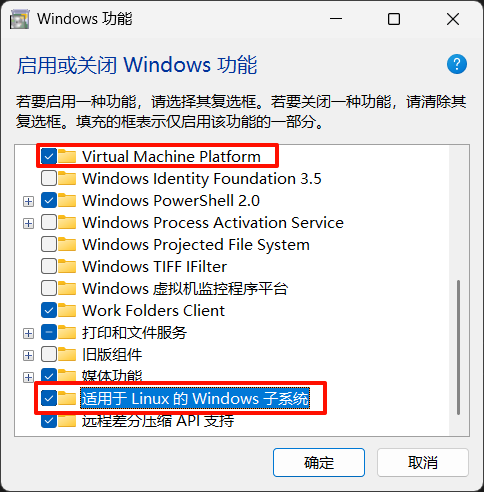
Win + S, search for “Turn Windows features on or off” and open it. - Check:
- “Windows Subsystem for Linux”
- “Virtual Machine Platform”

- Confirm and restart the computer.
-
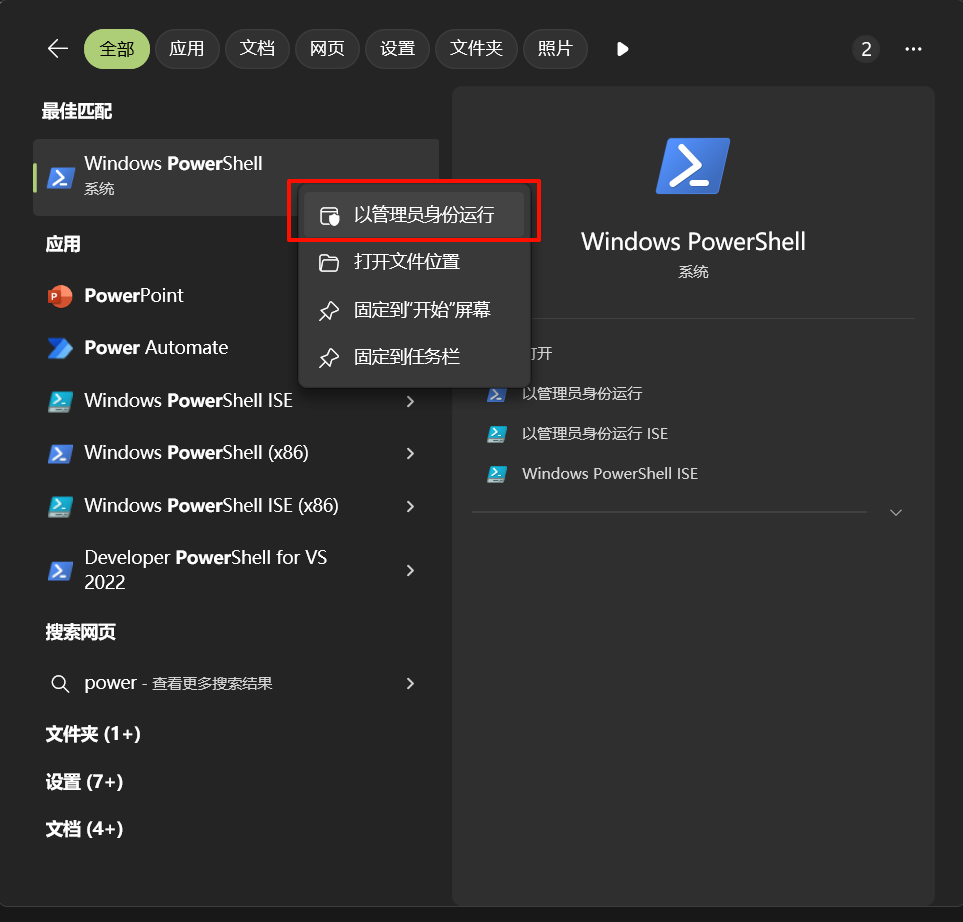
Open PowerShell (Admin), enter:

-
If you already have WSL1, upgrade to WSL2:
wsl --set-default-version 2
Method 1 (Recommended):
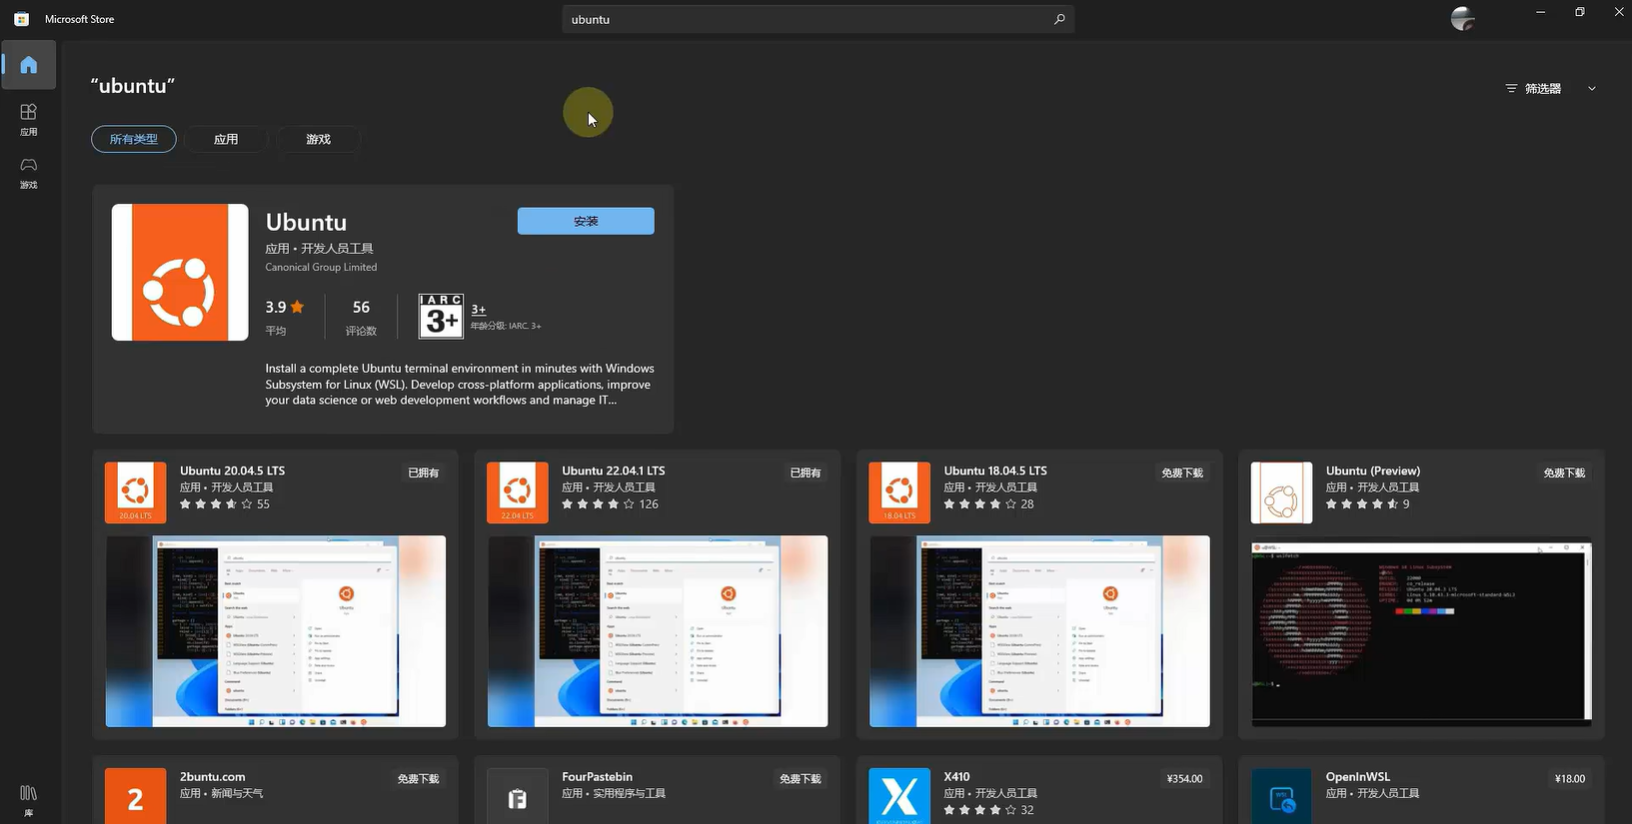
- Open Microsoft Store, search for “Ubuntu”.
- Find and install “Ubuntu”.

Method 2:
-
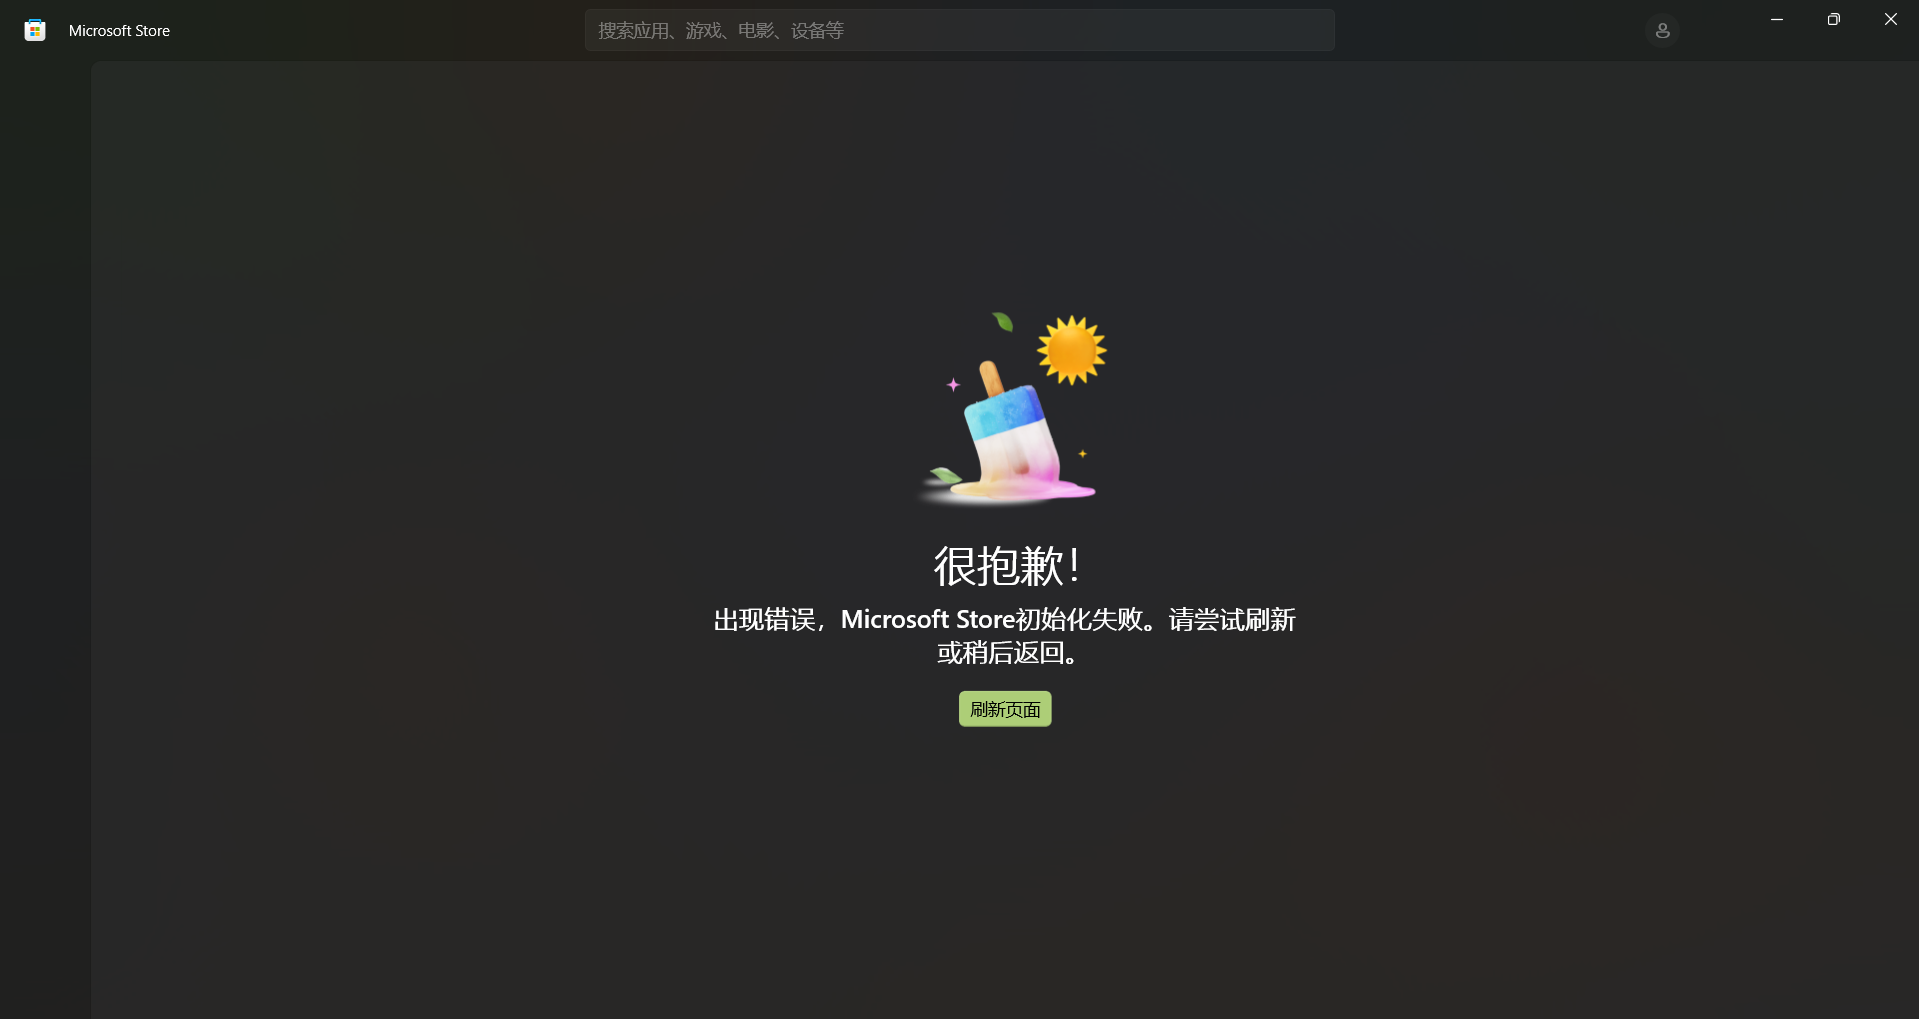
Due to a fault in the main MsStore package, the second method is used out of necessity

-
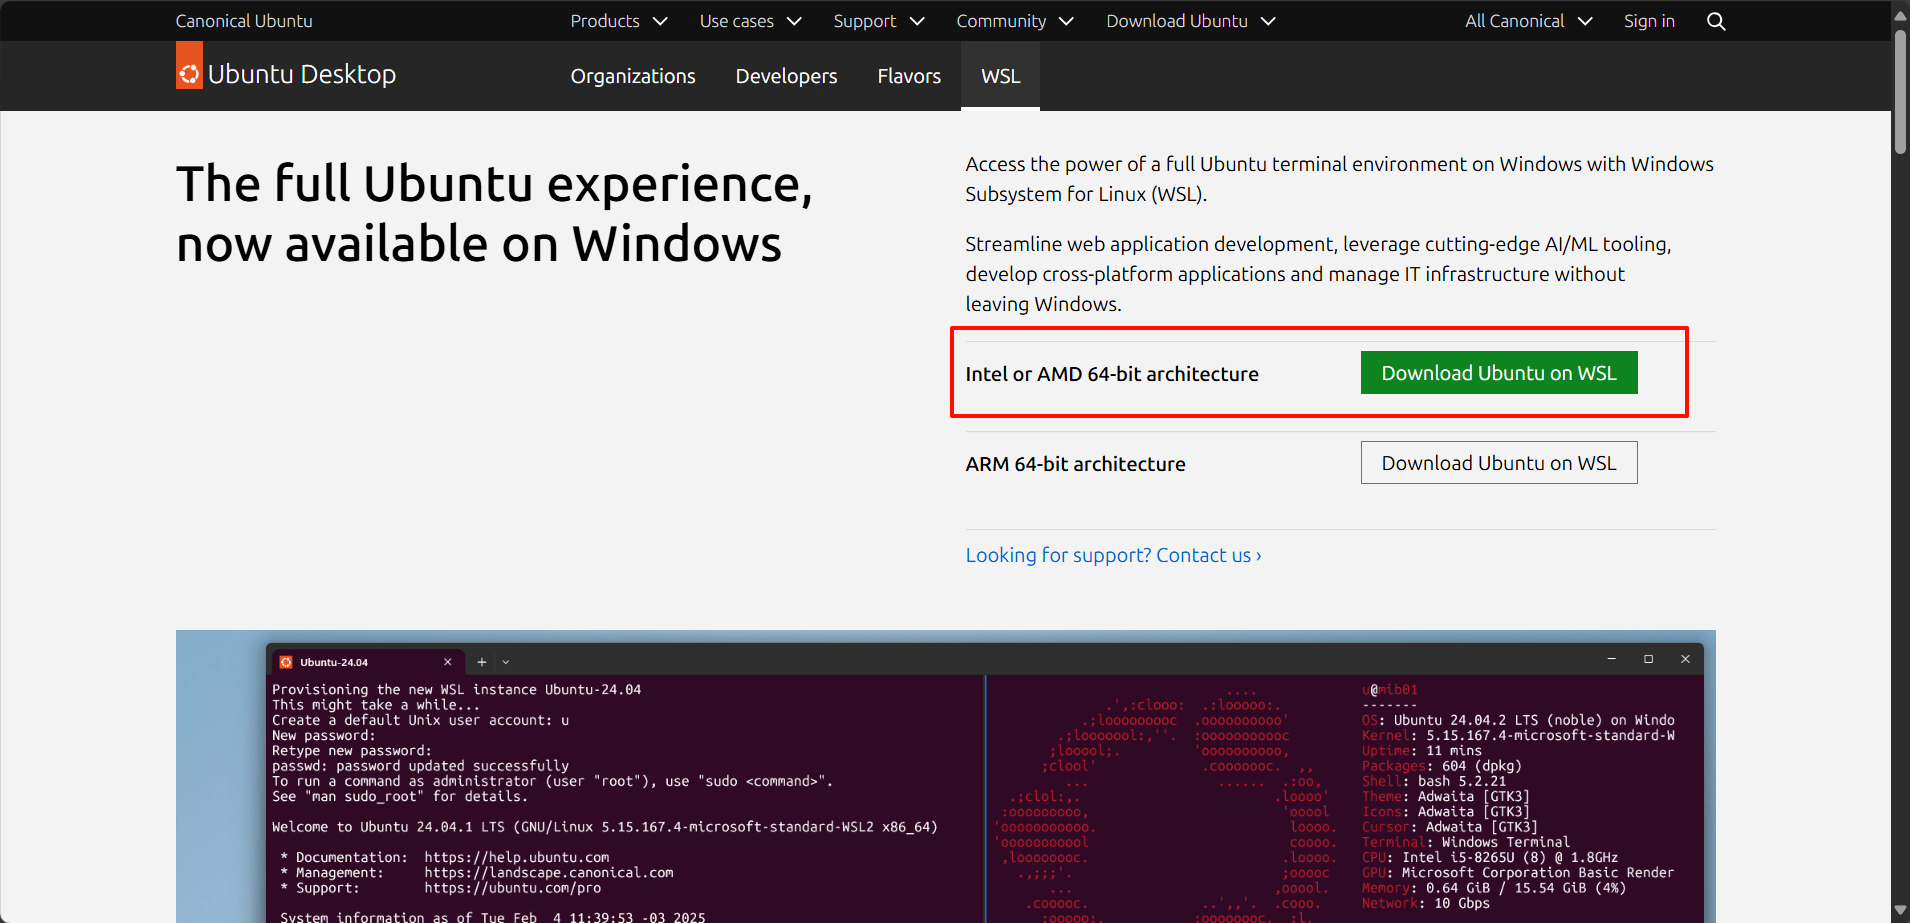
Go to Ubuntu Official Website to download the WSL version

-
After downloading and extracting, you get a file named
ubuntu-24.04.2-wsl-amd64 -
Rename the file to add the suffix
.tarto facilitate subsequent extraction and installation -
Go back to
PowerShell, import theUbuntusystem image by entering the command:wsl --import <distribution_name> <install_location> <image_file_path>For example, my
ubuntu-24.04.2-wsl-amd64.taris located inE:\\Edge Download\\ubuntu-24.04.2-wsl-amd64, and I want the WSL virtual hard disk address to be inE:\\Ubuntu-24.04, then I enter:wsl --import Ubuntu-24.04 "D:\\WSL\\Ubuntu-24.04" "D:\\Edge Download\\ubuntu-24.04.2-wsl-amd64.tar"Note that the path must be enclosed in
""
When such a page appears, the installation is successful

-
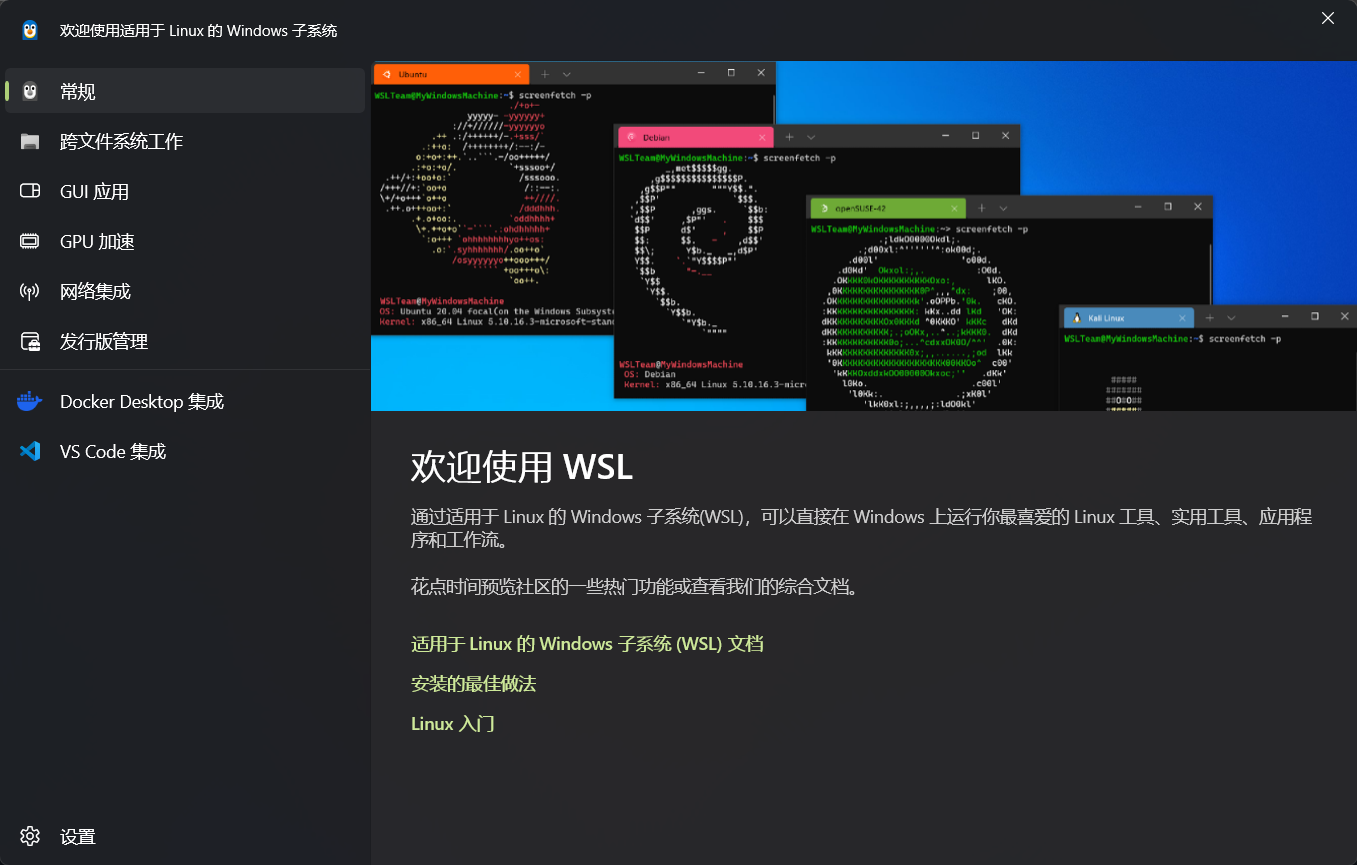
1. Method 1: Start from Start Menu (simple and fast)
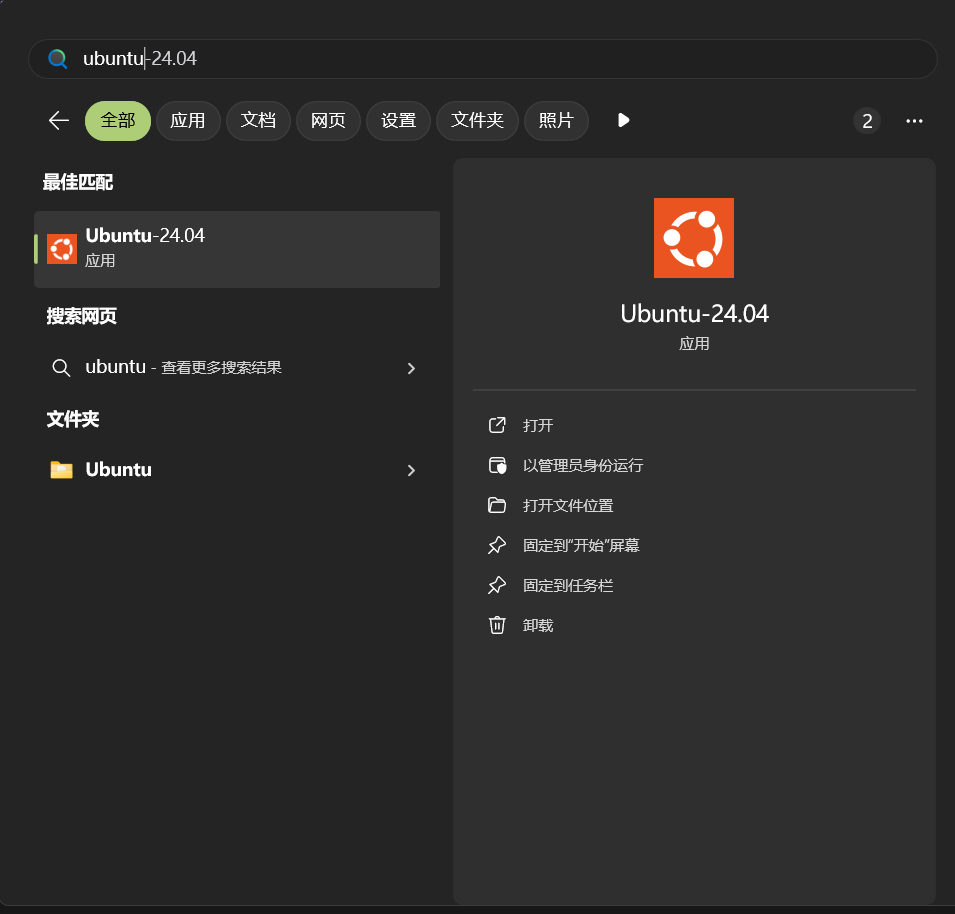
- Press the Win key on the keyboard (or click the Start Menu at the bottom-left corner of the screen).
- Directly type “Ubuntu” or the distribution name you set during installation (e.g., “Ubuntu-24.04”) in the search box.
- When the “Ubuntu” app appears, click it to open the Ubuntu terminal.

2. Method 2: Use Windows Terminal (personal recommendation, highly customizable)
3. Method 3: Start via Command Line
-
Press Win + R, type
wsland hit enter; it will default to your default Linux distribution (e.g., Ubuntu). -
If you have multiple WSL distributions, use the following command to start a specific version:
Here,
Ubuntu-24.04is the name you set during import, please replace it with your own.
1. Slow installation / download failure
- It is recommended to switch to a domestic source and then update the system, or use a scientific internet access tool.
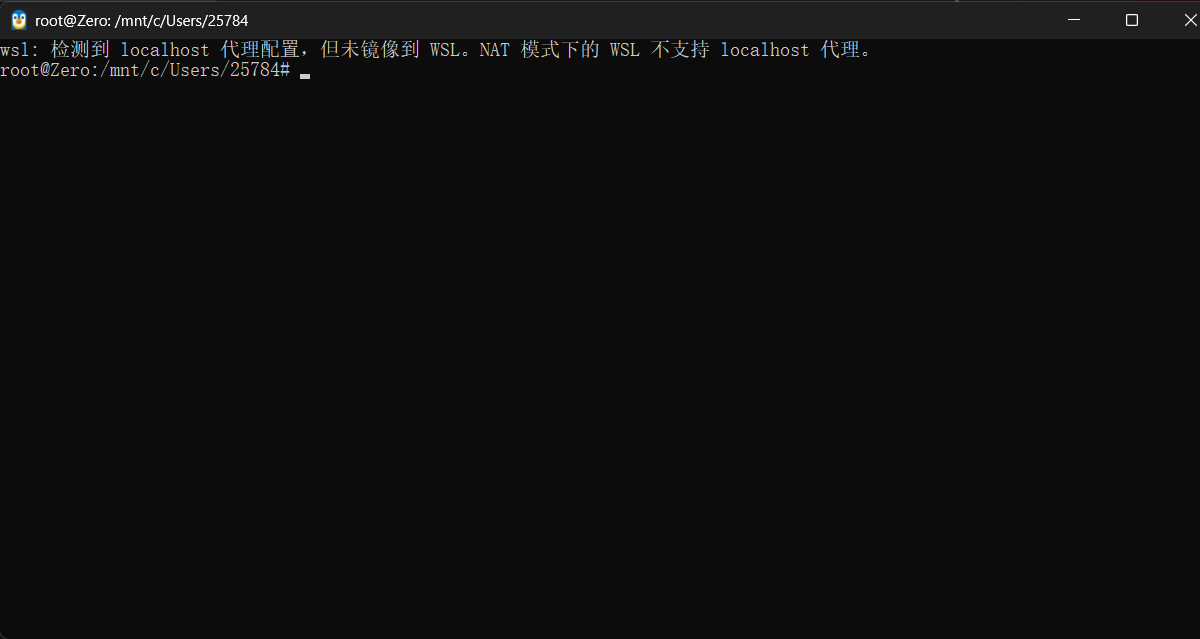
2. wsl: detected localhost proxy configuration but not mirrored to WSL. NAT mode WSL does not support localhost proxy.
 This is not an error, but a “warning” or “tip”.
It tells you: Windows system has detected a proxy set for localhost (127.0.0.1), but WSL in NAT network mode (which is the default for WSL2) does not support using localhost proxy directly.
What does this mean?
It means you are using a scientific internet access tool; proxy services generally listen on Windows local 127.0.0.1:port. But WSL2 is a virtual network environment, where 127.0.0.1 inside WSL2 points to the Linux subsystem itself, not Windows’ 127.0.0.1, so you cannot directly access Windows’ localhost proxy.
If you don’t want to see this prompt, just quit the scientific internet access tool. If you want WSL to be able to use the proxy for internet access, read the next section.
3. How to enable WSL to use proxy for internet access?
This is very important for developers who frequently need to access external networks to download stuff.
1. Enable LAN connection of the scientific internet tool, set the proxy port of the tool, enable the HTTP(S) port, and set the port (you can set any port you like). This depends on your tool. Here, I use Clash Verge;
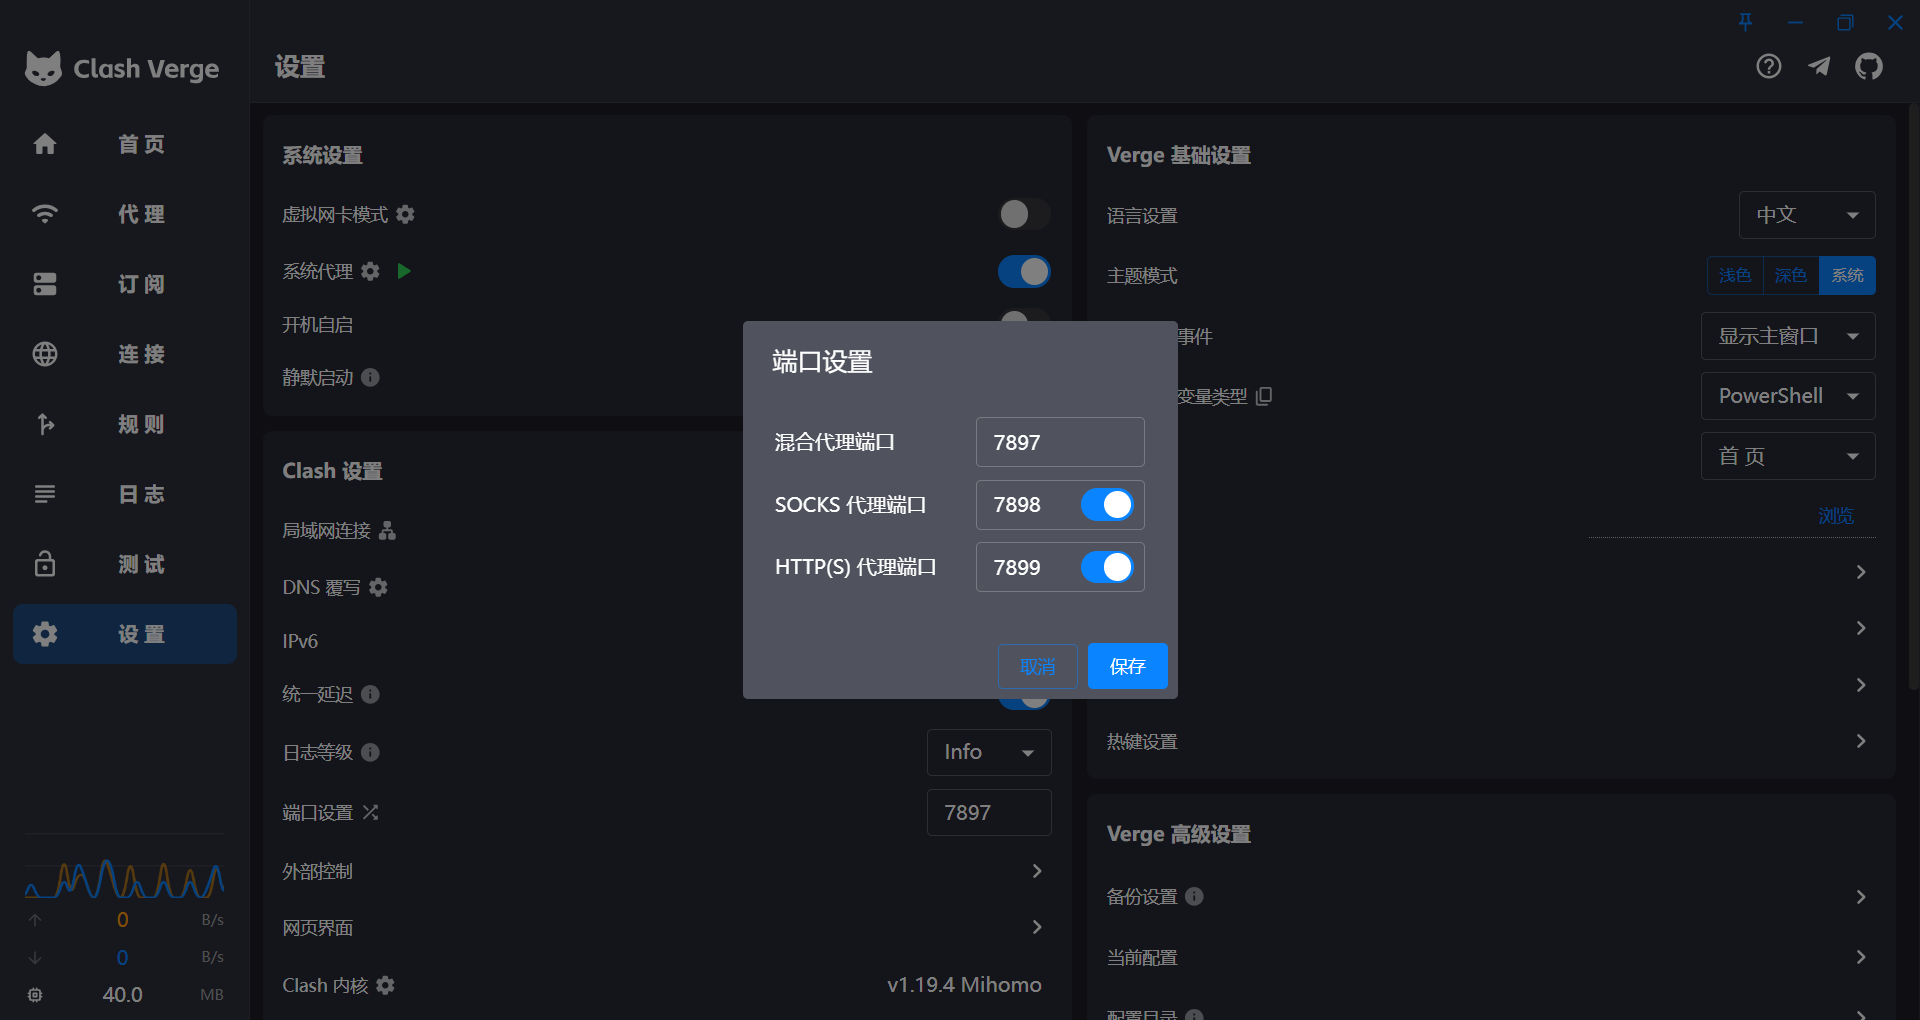
2. Go back to Windows Terminal and into Ubuntu, enter the following command to open the .bashrc file:
3. Scroll to the end of the file using mouse wheel or arrow keys, add the following code (here the 7899 should be set to the HTTP port you just set in your proxy software), press Ctrl+O (write), Enter to confirm, then Ctrl+X to exit.
WSL_HOST_IP=$(ip route | grep -m 1 default | awk '{print $3}')
export http_proxy="http://$WSL_HOST_IP:7899"
export https_proxy="http://$WSL_HOST_IP:7899"
4. Set firewall inbound rules to avoid traffic blocking.
5. After completion, enter curl -I google.com in Ubuntu to verify success
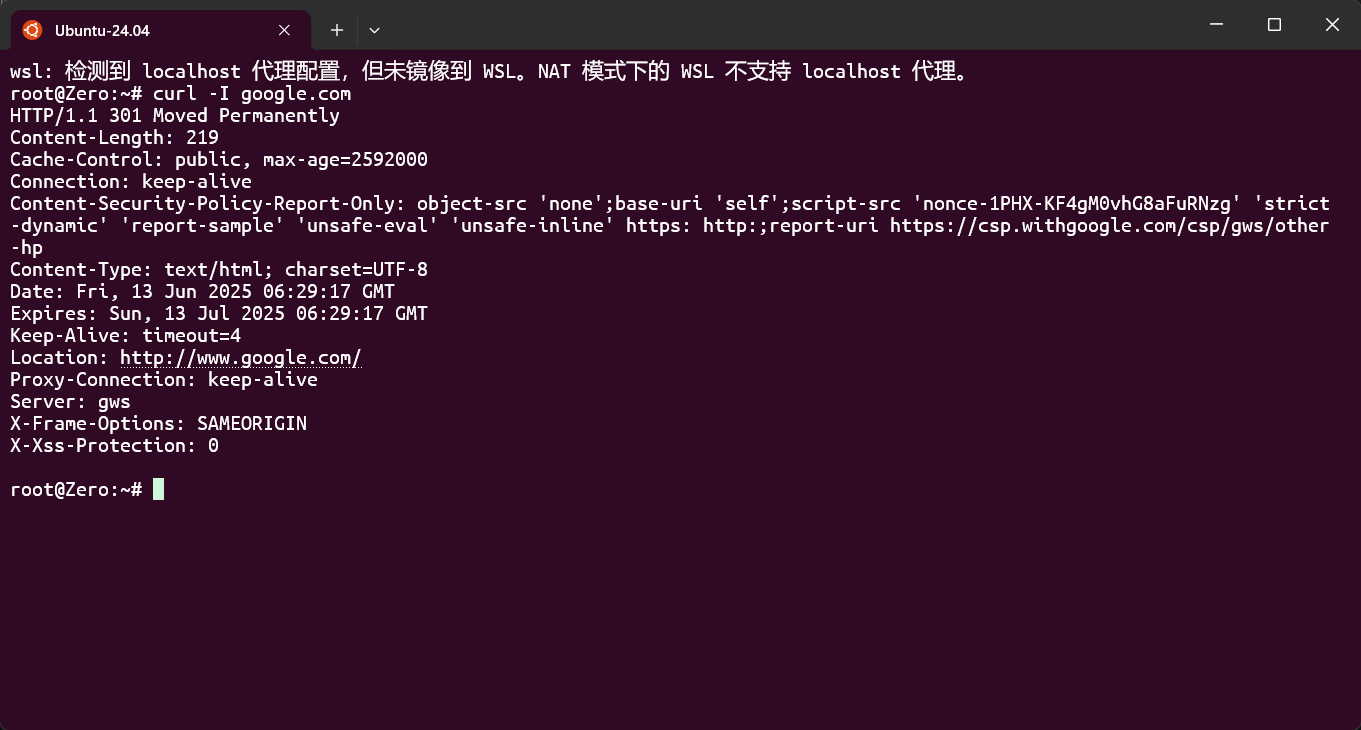 —
—
WSL allows us to natively experience Linux development on Windows, making development more efficient, and getting familiar with Linux in advance is a huge boost for personal skills. If you encounter installation problems, feel free to leave a comment and communicate!
This post is licensed under CC BY 4.0 by the author.